
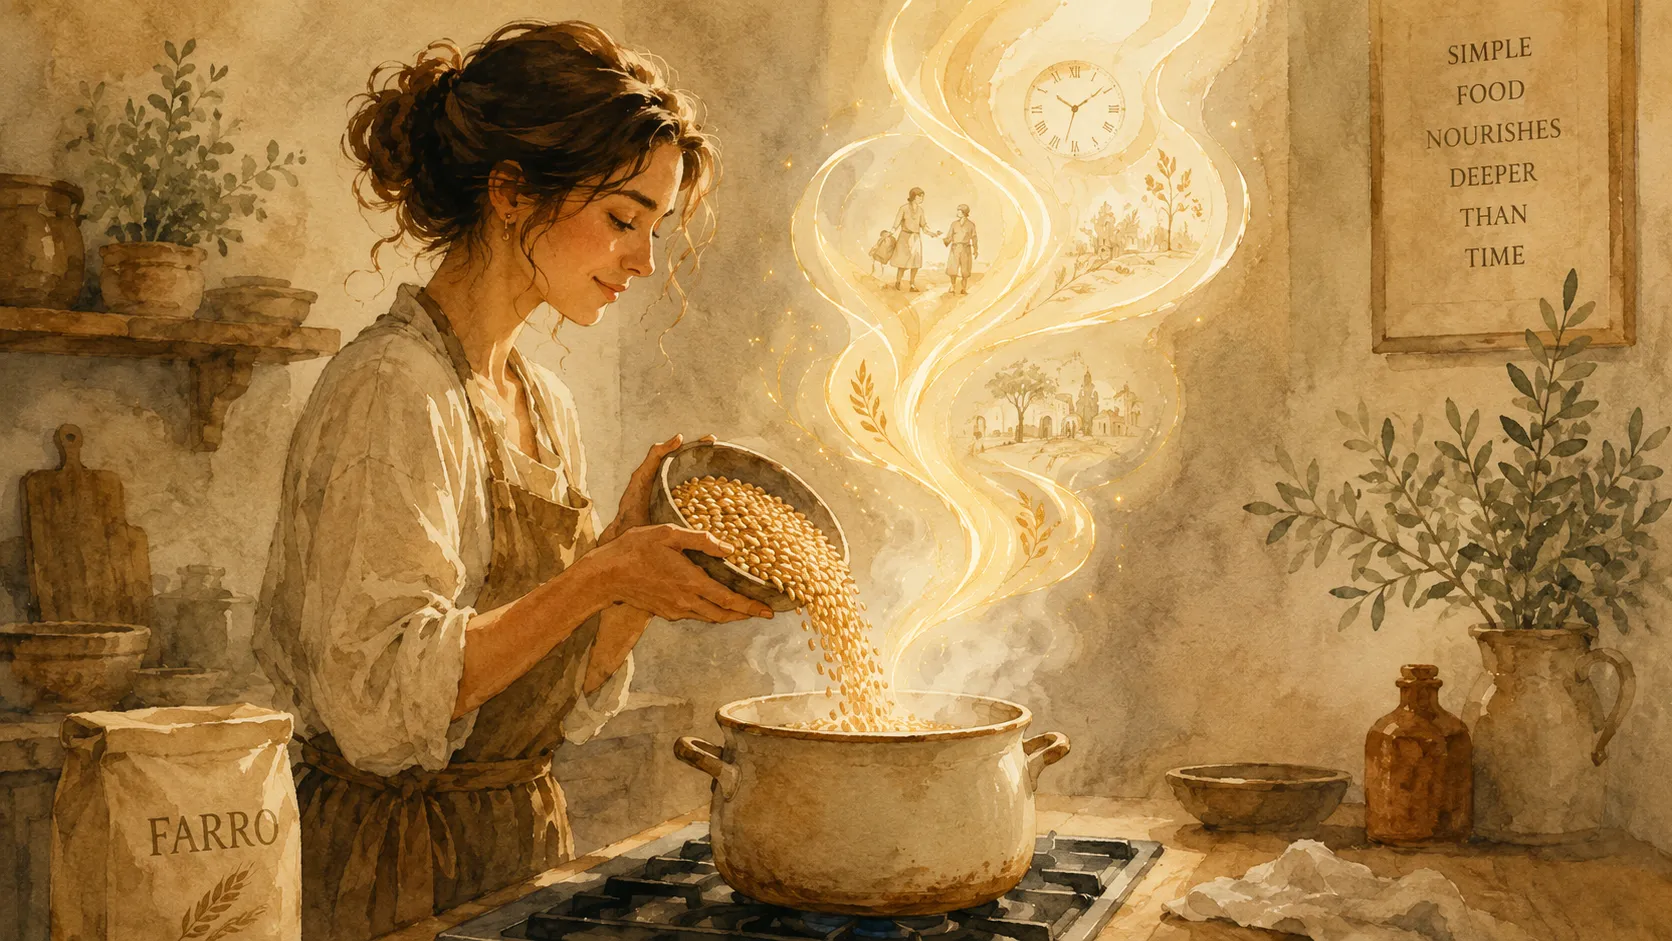
Farro has quietly transformed from a niche ancient grain into a staple ingredient found in home kitchens, restaurants, and healthy meal plans around the world. Its nutty flavor, pleasantly chewy texture, and impressive versatility make it a favorite alternative to rice, quinoa, and barley. Yet one question continues to come up for first-time cooks and experienced home chefs alike: how long does it take to cook farro?The answer isn’t as straightforward as many recipes make it seem. Farro comes in several forms, and each type cooks at a different rate. The amount of water you use, whether you soak the grains beforehand, and even the cooking equipment in your kitchen can significantly change the final result. One batch may be perfectly tender in 15 minutes, while another may require nearly an hour.
Understanding these differences is the secret to cooking farro successfully every single time. Instead of relying solely on package instructions, learning how the grain behaves during cooking gives you more control over texture and flavor. Whether you’re preparing a hearty grain bowl, a comforting soup, or a fresh Mediterranean-style salad, mastering farro starts with understanding the basics. By the end of this guide, you’ll know exactly which type of farro to choose, how much water to use, how to recognize perfect doneness, and how to avoid the common mistakes that leave this ancient grain disappointingly chewy or unpleasantly mushy.
Understanding Farro Before You Start Cooking
What Makes Farro Different From Other Grains
Farro is an ancient wheat grain that has been cultivated for thousands of years. Unlike many modern grains that have been heavily modified through selective breeding, farro retains much of its traditional character. It offers a distinctive nutty flavor and a satisfying chewiness that makes meals feel substantial and filling.
One reason cooks love farro is its versatility. It works equally well in hot and cold dishes, can absorb bold flavors without becoming overwhelmed, and holds its texture remarkably well compared to softer grains. This resilience makes it ideal for meal prep because it doesn’t quickly turn mushy after refrigeration.
Nutritionally, farro provides a strong combination of fiber, protein, vitamins, and minerals. Many people choose it as part of a balanced diet because it offers longer-lasting satiety than highly refined carbohydrates. While farro contains gluten and isn’t suitable for gluten-free diets, it remains a popular option among those looking to incorporate more whole grains into their meals. Its hearty texture also makes it a favorite among vegetarians and vegans seeking satisfying plant-based ingredients.
Why Farro Has Become So Popular
Modern consumers increasingly seek foods that deliver both nutrition and flavor, and farro excels at both. Restaurants frequently feature it in grain bowls, salads, and side dishes because it adds texture and complexity without requiring elaborate preparation. Home cooks appreciate that a single batch can be used throughout the week in multiple meals.
Another reason for farro’s popularity is its forgiving nature. Unlike rice, which can quickly become overcooked, farro has a relatively wide window between perfectly cooked and overdone. Many cooks compare its texture to al dente pasta because it maintains a pleasant bite even after extended cooking. This characteristic makes it especially beginner-friendly and reduces the stress often associated with cooking grains.
Picking the Right Type of Farro Before You Start
The most important factor influencing cooking time is the type of farro you purchase. Many recipes fail because cooks assume all farro behaves the same way.
Whole Farro
Whole farro retains all of its bran layers and nutritional components. Because it undergoes minimal processing, it takes the longest to cook. Typical cooking times range from 35 to 50 minutes, though soaking overnight can reduce this significantly. Whole farro offers the most robust texture and strongest nutty flavor. It is often preferred by cooks who value maximum nutrition and don’t mind a longer preparation process.
Semi-Pearled Farro
Semi-pearled farro strikes a balance between nutrition and convenience. Some of the bran has been removed, which shortens cooking time while preserving much of the grain’s nutritional value. Most semi-pearled varieties cook within 20 to 30 minutes and do not require soaking. Many Italian cooks consider this version the ideal compromise between flavor, texture, and practicality.
Pearled Farro
Pearled farro is the quickest option. Much of the outer bran layer has been removed, allowing water to penetrate rapidly during cooking. Most pearled farro cooks in approximately 15 to 20 minutes, making it a convenient choice for busy weeknight meals. While it contains slightly less fiber than less-processed versions, it remains flavorful and versatile.
How Long Does It Take to Cook Farro?
Cooking Time Comparison Table
| Type of Farro | Average Cooking Time | Soaking Needed | Texture |
|---|---|---|---|
| Pearled Farro | 15–20 minutes | No | Tender with mild chew |
| Semi-Pearled Farro | 20–30 minutes | Optional | Balanced chewiness |
| Whole Farro | 35–50 minutes | Recommended | Firm and hearty |
Cooking times can vary depending on the brand, age of the grain, and cooking method. Always begin checking for doneness a few minutes before the expected completion time.
Soaking and Its Impact on Timing
Soaking isn’t always necessary, but it can dramatically reduce cooking time for whole farro. An overnight soak softens the outer layers and allows moisture to begin penetrating the grain before heat is applied. Some sources report that soaking can cut cooking times nearly in half for whole farro. The practice also helps produce more evenly cooked grains. If you’re planning meals ahead of time, soaking is one of the simplest ways to improve both texture and efficiency. Semi-pearled and pearled varieties generally cook quickly enough that soaking offers minimal benefit.
Water Ratios That Change the Final Texture
Water ratios influence texture just as much as cooking time. A slight adjustment can mean the difference between pleasantly chewy grains and a softer, more risotto-like consistency.
Firm and Chewy Texture
For grain bowls, salads, and side dishes, many cooks prefer a firmer texture. Using approximately 2 cups of water for every cup of farro often produces grains that remain pleasantly chewy and separate easily after cooking. This approach highlights farro’s signature texture and helps it stand up to dressings and sauces.
Soft and Tender Texture
When preparing soups, stews, or comfort-focused dishes, increasing the liquid can create a softer texture. Ratios ranging from 2.5 to 3 cups of water per cup of farro allow the grains to absorb more moisture and become more tender. Some cooks prefer the pasta method, where farro is boiled in abundant water and drained once it reaches the desired texture. This method removes concerns about exact measurements and provides greater control over doneness.
What Affects Cooking Time the Most
Grain Processing Level
The degree of processing remains the biggest factor affecting cooking time. Pearled grains cook much faster because the protective bran layer has largely been removed. Whole grains require significantly more time because water must penetrate intact outer layers before the interior softens.
Cooking Method
Different cooking methods can dramatically alter preparation times. Stovetop simmering remains the most common approach, but pressure cookers can reduce cooking times substantially. Whole farro that might require 45 minutes on the stove can become tender in approximately 10 to 15 minutes under pressure. Rice cookers also work well, though they generally require longer cooking cycles.
Altitude and Equipment
Altitude affects boiling temperature, which can extend cooking times. Older cookware with uneven heat distribution may also slow the cooking process. Even seemingly minor variables such as pot size and lid fit can influence how quickly moisture evaporates and how efficiently heat circulates around the grains.
Signs the Grains Are Perfectly Tender
Texture Tests Anyone Can Use
Farro doesn’t announce its readiness with dramatic visual changes. Instead, the best indicator is texture. Bite into a grain and evaluate the center. Properly cooked farro should feel tender throughout while retaining a slight chew. It shouldn’t be crunchy, chalky, or hard in the middle. Another sign is expansion. Cooked grains become noticeably larger and plumper than their dry counterparts. They should remain distinct rather than collapsing into a porridge-like mass. If you’re uncertain, continue tasting every few minutes until the texture matches your preference.
Many experienced cooks avoid relying solely on timers. Farro can vary widely between brands, and tasting remains the most reliable method for achieving the perfect result. Think of it like cooking pasta: your palate is often more accurate than the clock.
Easy Ways to Add More Flavor While Cooking
Broths, Herbs, and Aromatics
Farro has a naturally nutty flavor, but simple additions can elevate it dramatically. One of the easiest upgrades is replacing water with vegetable, chicken, or beef broth. This allows the grains to absorb savory notes throughout cooking rather than relying solely on seasonings added afterward. Aromatics create another layer of complexity. Consider adding:
- Garlic cloves
- Onion halves
- Bay leaves
- Thyme sprigs
- Rosemary
- Peppercorns
- Fennel seeds

Colby Renwick is a 27-year-old American blogger from Madison, Wisconsin, specializing in healthy eating, meal planning, and food education. His writing combines careful research with approachable advice, making complex health topics easier to understand. Through his work for healthybreakfast.xyz, he publishes accurate, reader-friendly articles designed to support long-term healthy habits with credibility and consistency.